

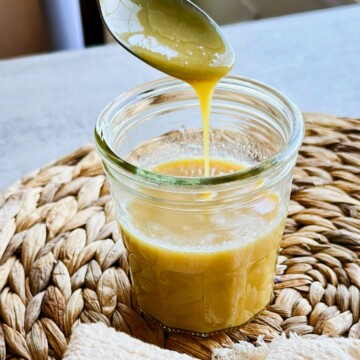
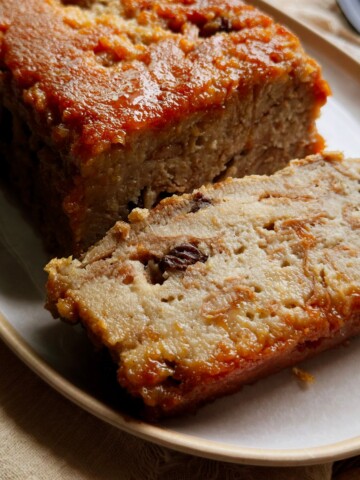
This vegan sweetened condensed milk recipe is a thick, delicious alternative to traditional condensed milk for desserts, drinks, and your morning coffee. Try it in Batido de Trigo (Cuban Wheat Milkshake) or Vegan Cuban Pudín de Pan (Bread Pudding).
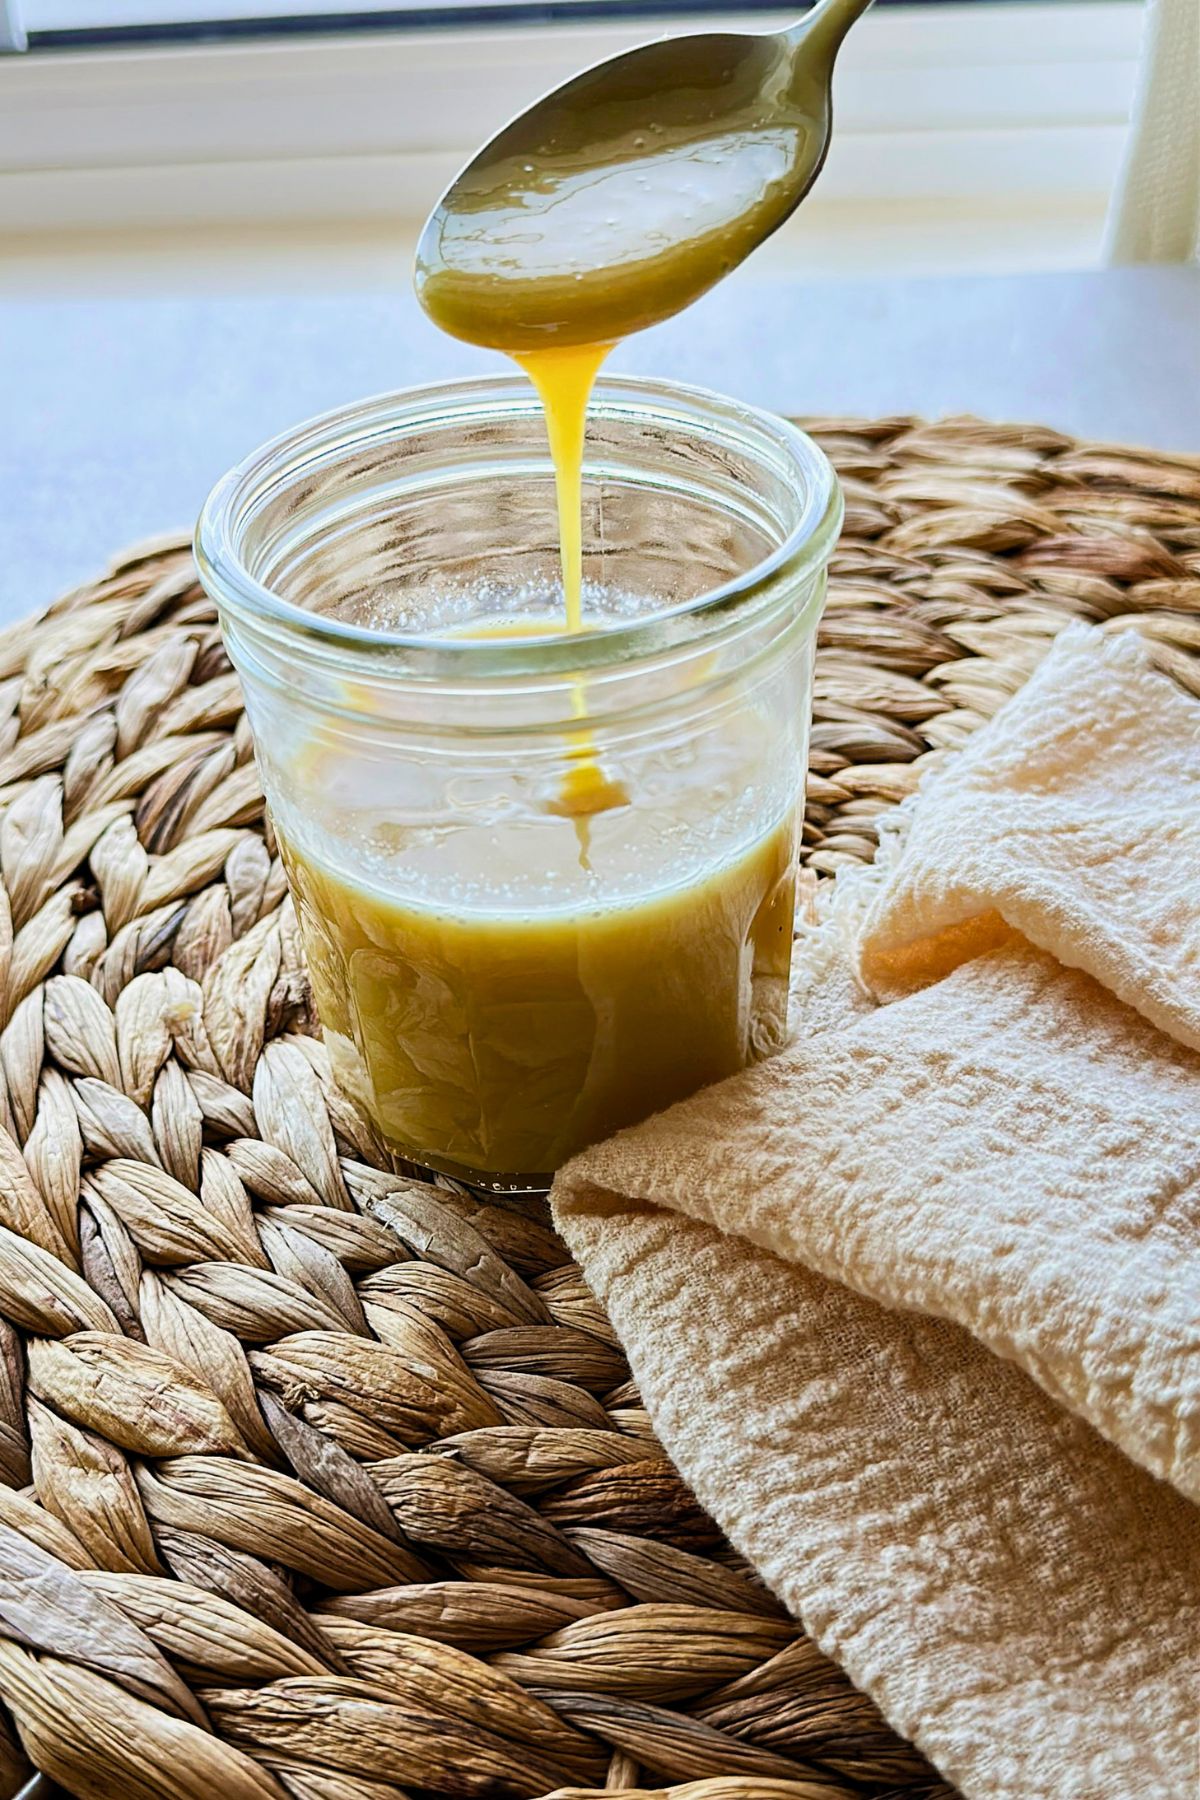
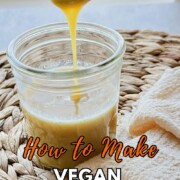
It's glossy and thick enough to coat the back of a spoon, and it does everything the traditional can version does. Coconut and soy give the thickest result; oat, cashew, and almond also work but may finish a little thinner.
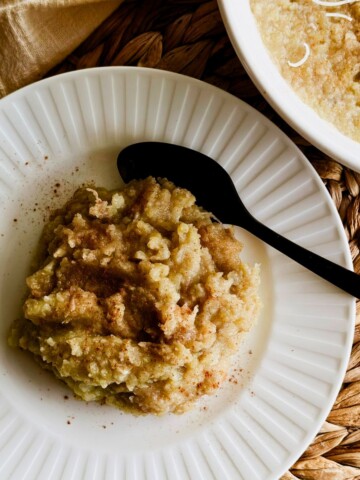
If you grew up Cuban, you know leche condensada (condensed milk) was never really a baking ingredient. It was a food group that can go into Vegan Flan, Vegan Rice Pudding, and Vegan Crema de Vie (Cuban Eggnog).
This takes about 30 to 50 minutes on the stove plus cooling time. It works with the plant-based milk you already have, but I prefer canned coconut milk, soy, or oat. Make it once, and you'll stop buying the can.
Jump to:
Why I Keep Making This
- Only four ingredients, so it's super easy to make.
- Easier to find than the canned version. Vegan condensed milk exists, but some stores near me don't stock it, and ordering it online gets expensive fast. Making it costs a couple of dollars less per batch and takes one pan.
- Nothing weird in it. No gums, no stabilizers, no ingredient list that reads like a chemistry final.
Shopping List
See the printable recipe card for quantities and the full ingredient list.
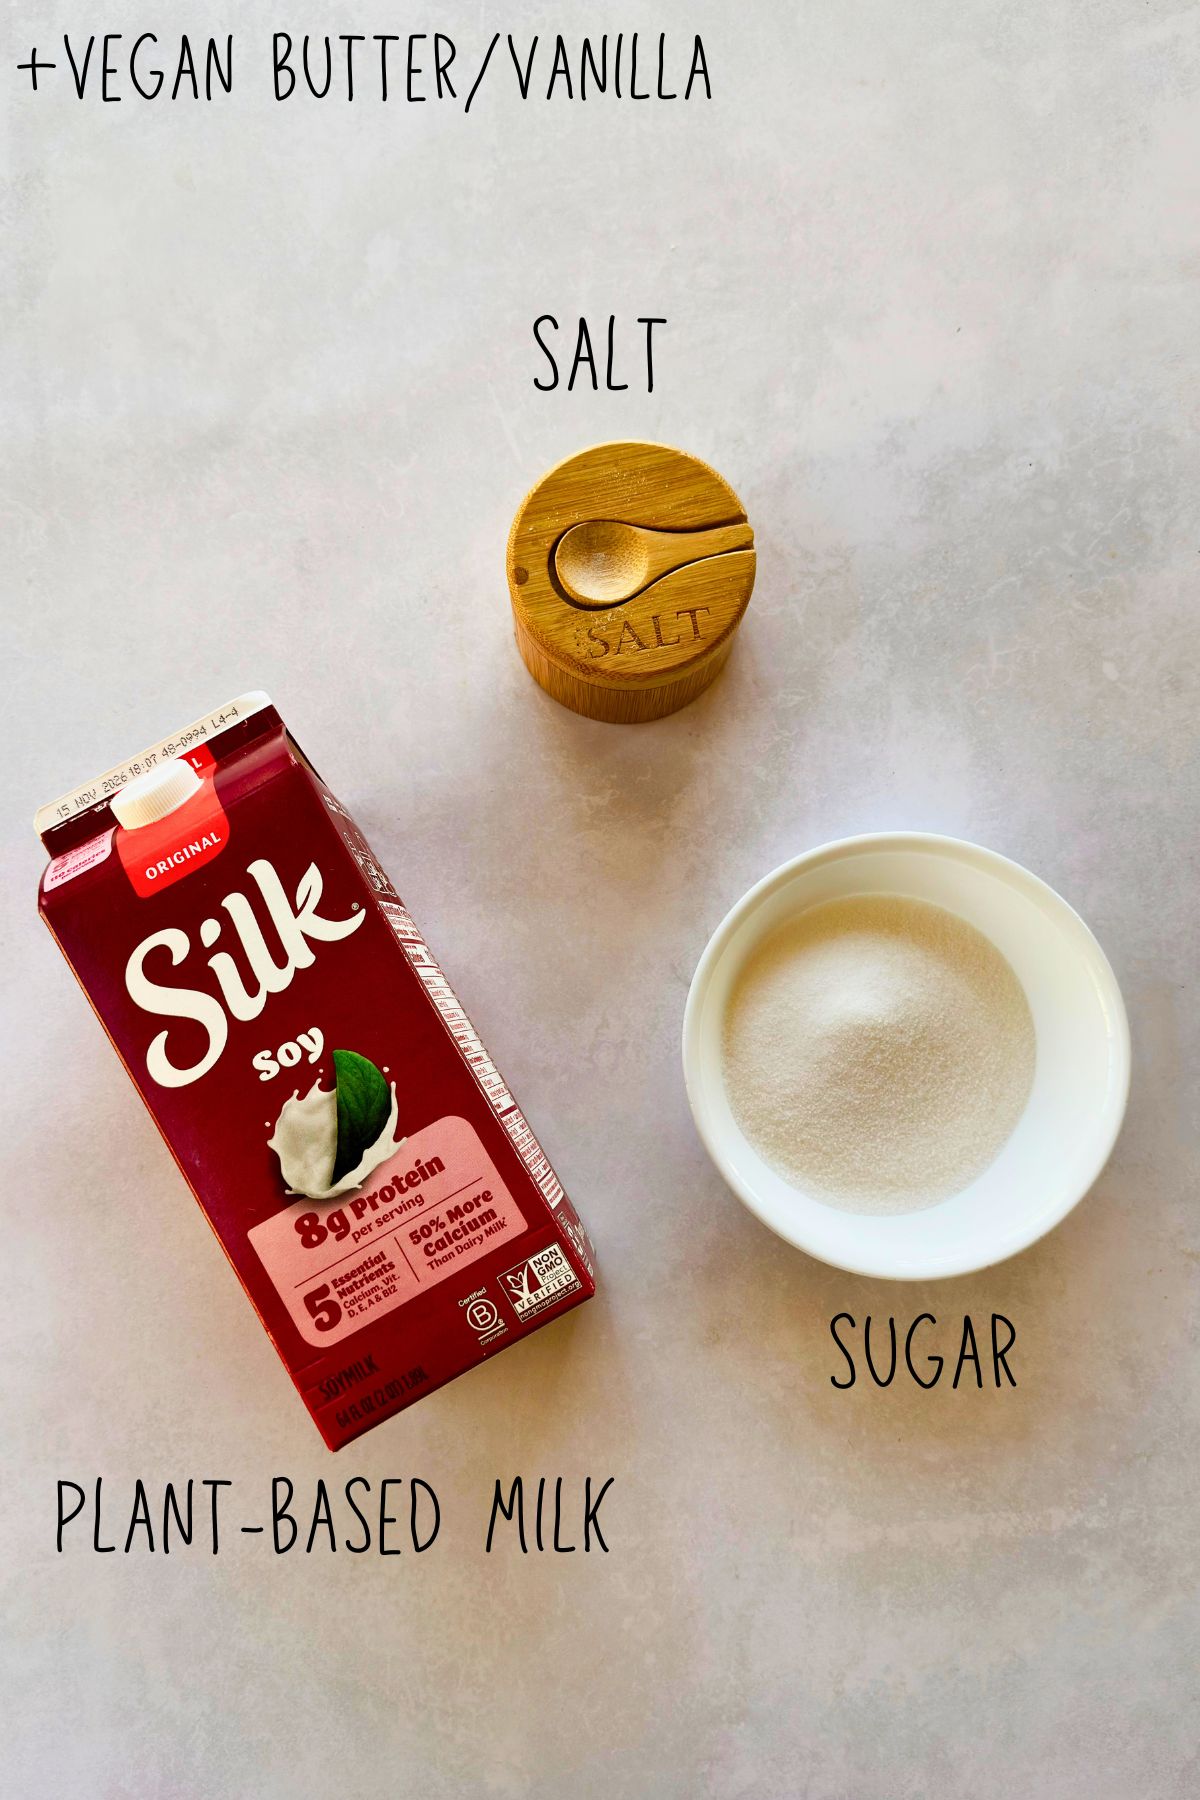
- Milk - Use full-fat canned coconut milk for the richest version. For the carton method, unsweetened soy gives the thickest result. Oat, cashew, or almond milk also works but may finish a little thinner.
- Sugar - Look for organic. Much conventional cane sugar is filtered through bone char, which knocks it out of vegan territory.
- Vegan butter - Use the butter in the plant-milk version for a silkier finish.
- Vanilla - Optional but delicious in the coconut milk version.
- Salt - just a pinch, and don't skip it. It's what keeps the whole thing from tasting flat and one-note sweet.
Change It Up
Use cinnamon and citrus. Drop a cinnamon stick and a strip of lime or orange peel into the pan while it simmers, then fish them out at the end. This is the version I make most often for arroz con leche.
How to Make Vegan Sweetened Condensed Milk
In these process shots, I'm making the soy milk version. Notice the color change and the slow boil. See the complete printable recipe card below for the details.
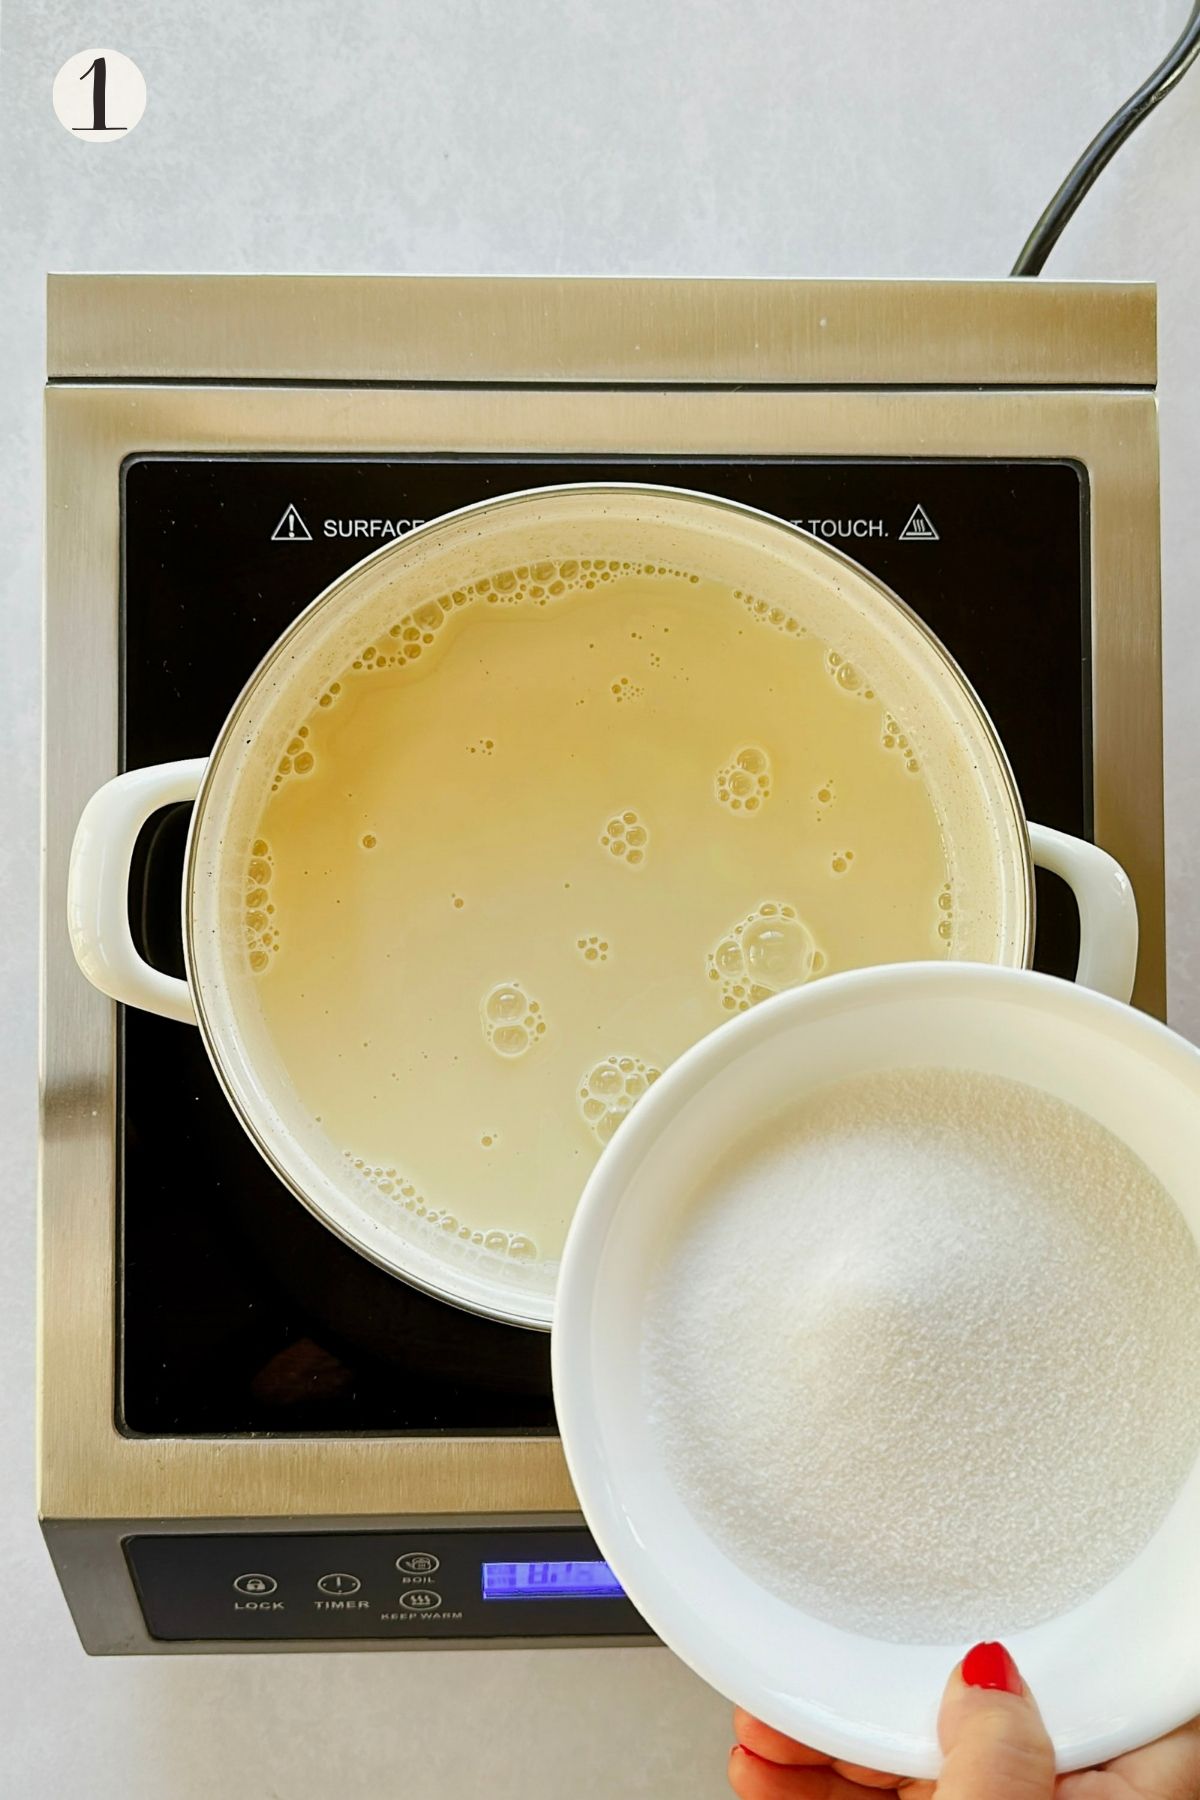
Step 1: Whisk the milk, sugar, and salt in a wide, heavy-bottomed saucepan over medium heat until the sugar dissolves. Bring it just to the edge of a simmer, then drop the heat to low. There should be lazy bubbles around the rim, nothing more.
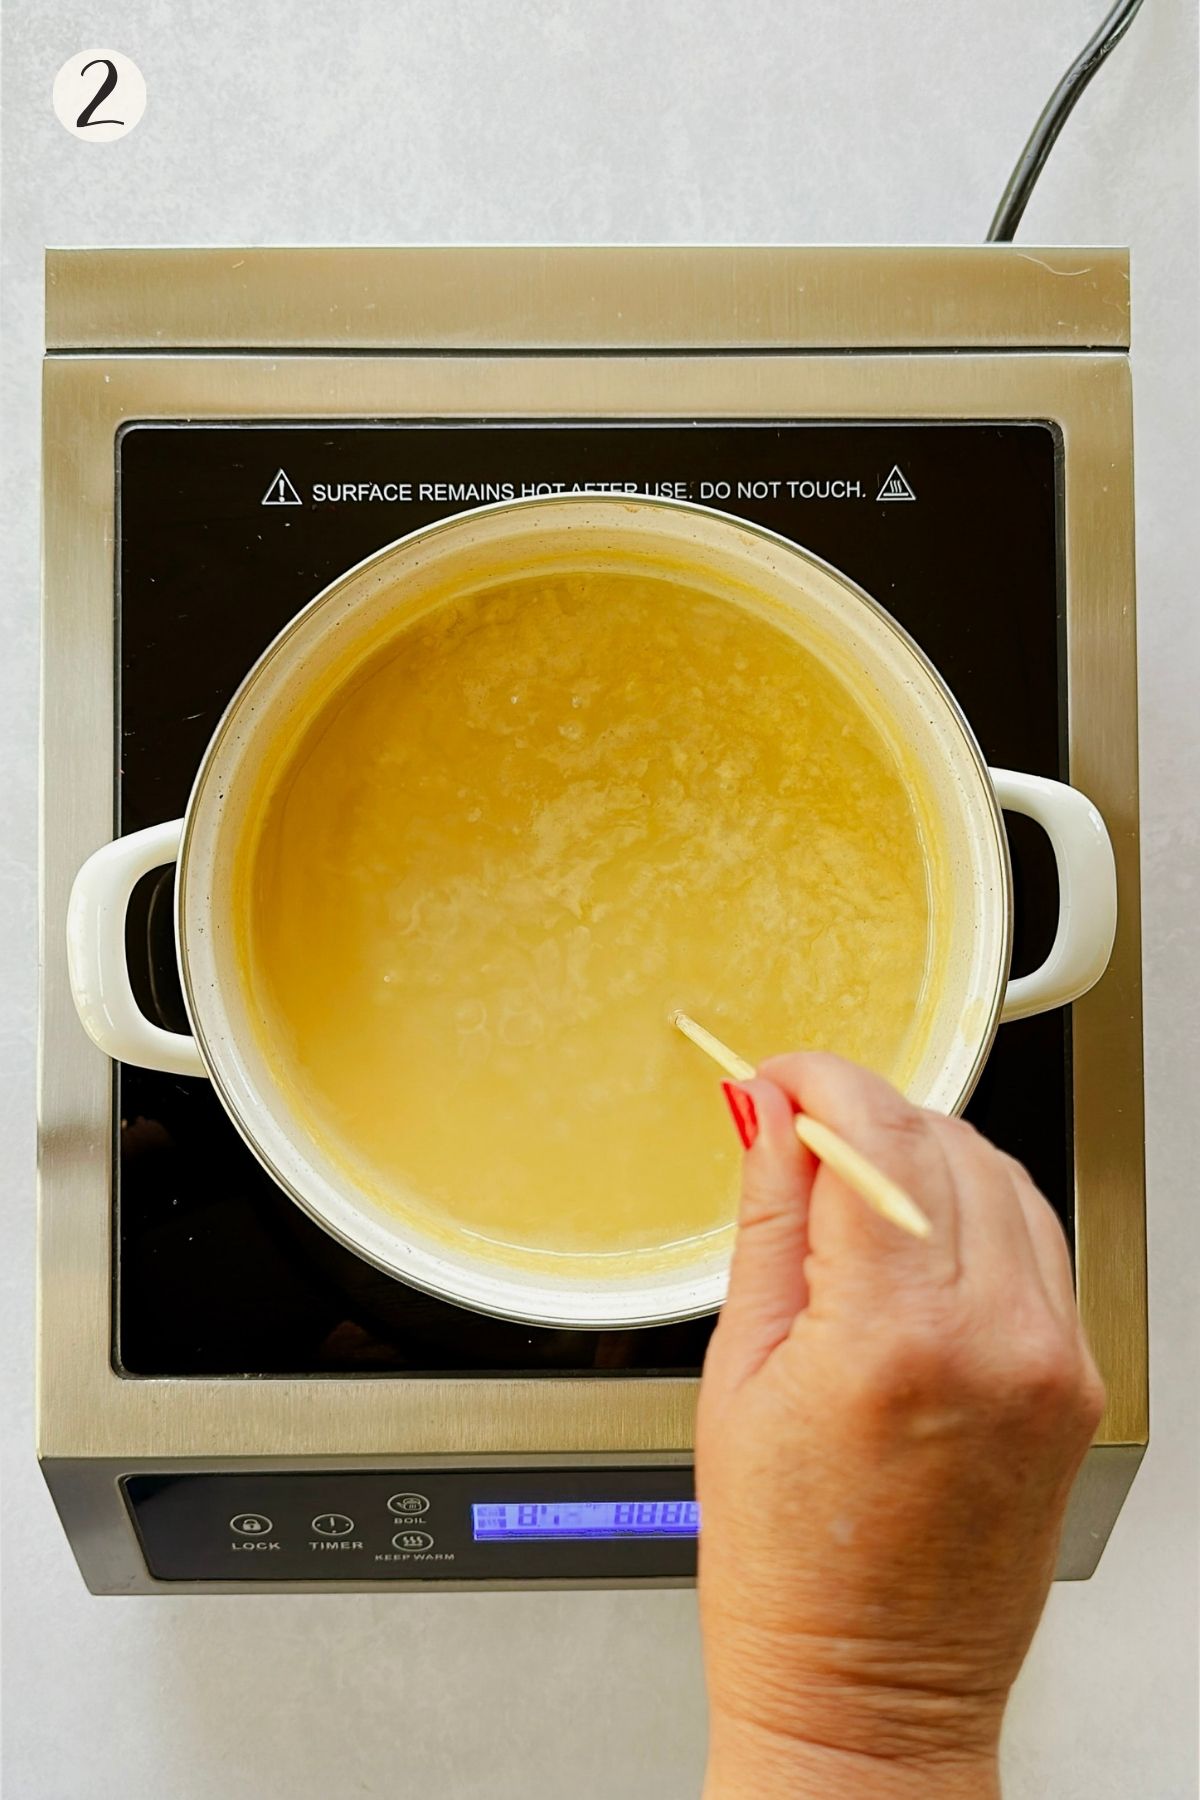
Step 2: Mark the starting level on the skewer before cooking, then dip it back into the pan as the milk reduces. Cook and stir until the mixture reaches a little under half its original level and turns a darker color - about 30 to 50 minutes. When the milk reaches a little under half the original mark, it's ready.
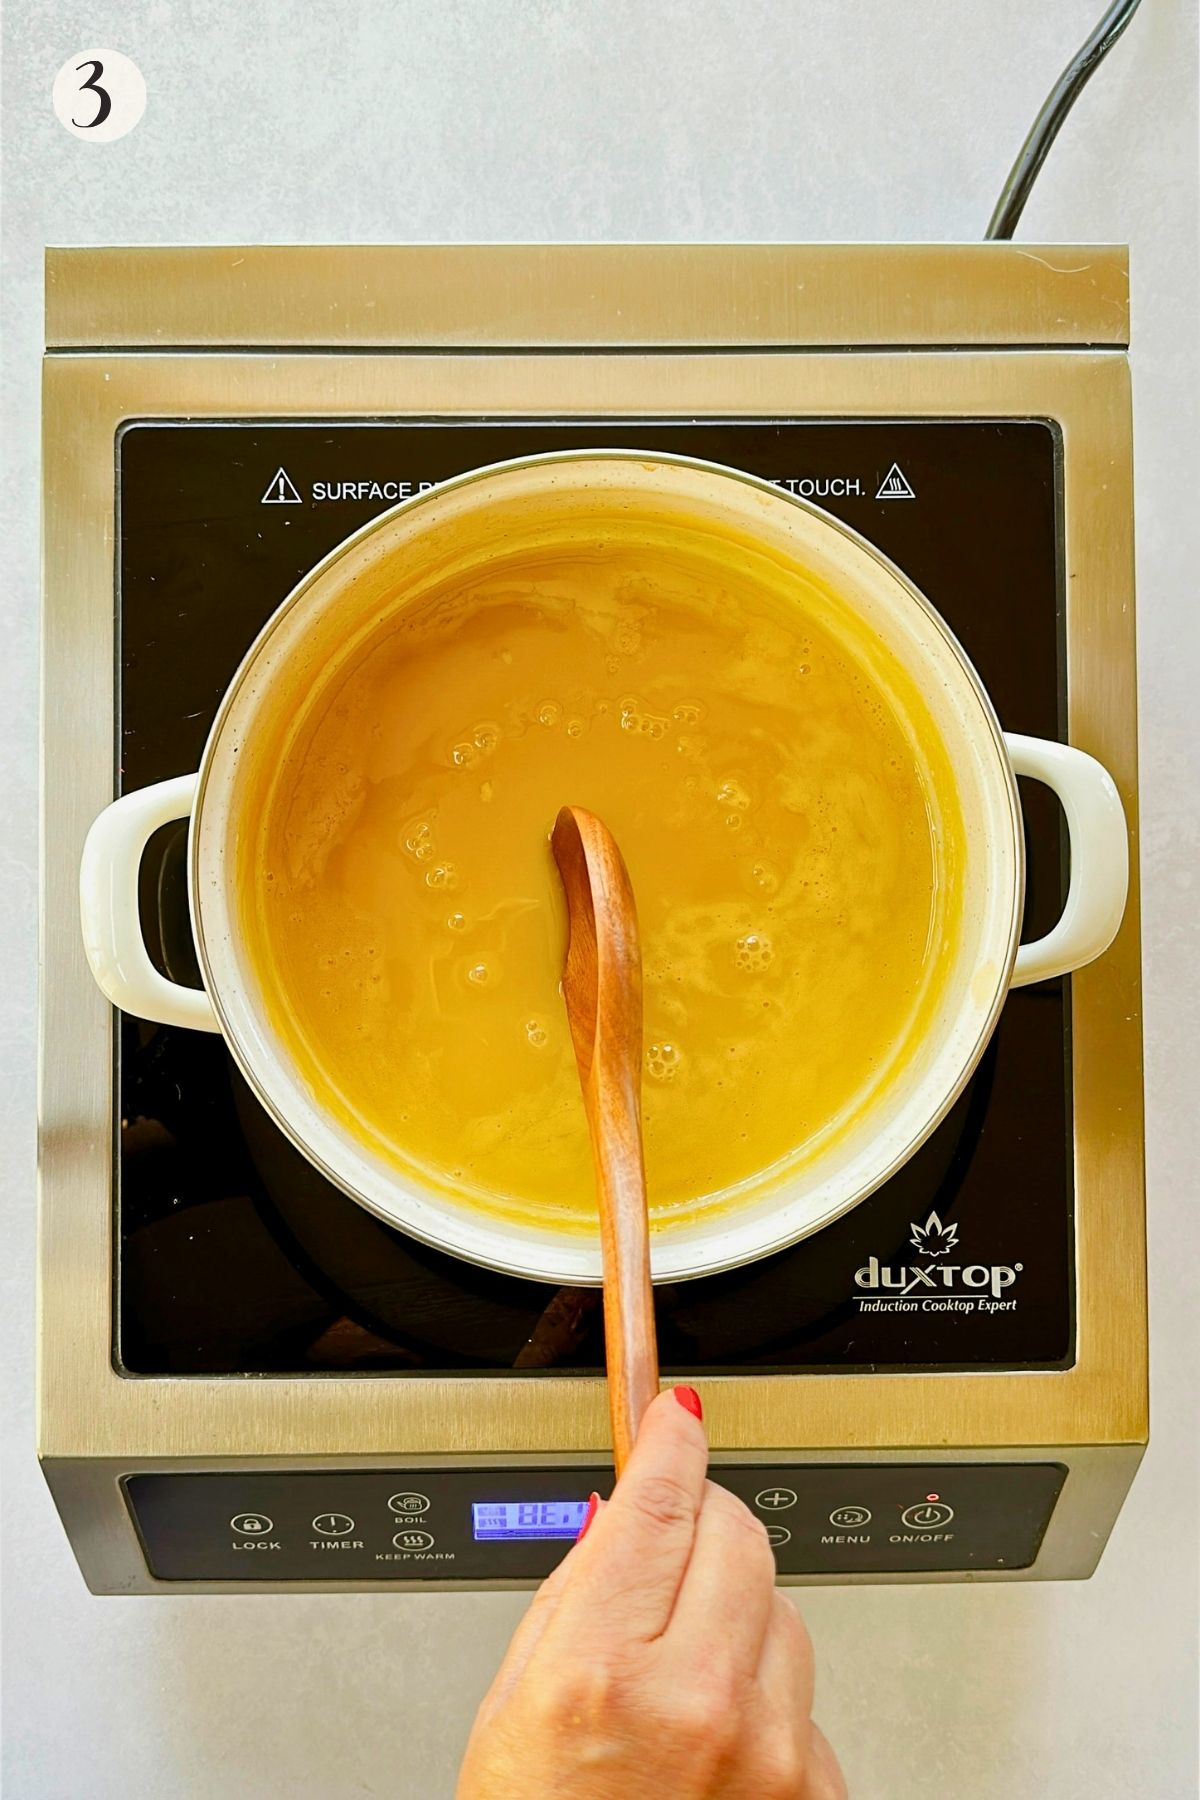
Step 3: Off the heat, whisk hard for 30 seconds. If you're using plant milk, whisk in the vegan butter now until it's melted and glossy. Add the vanilla if using.
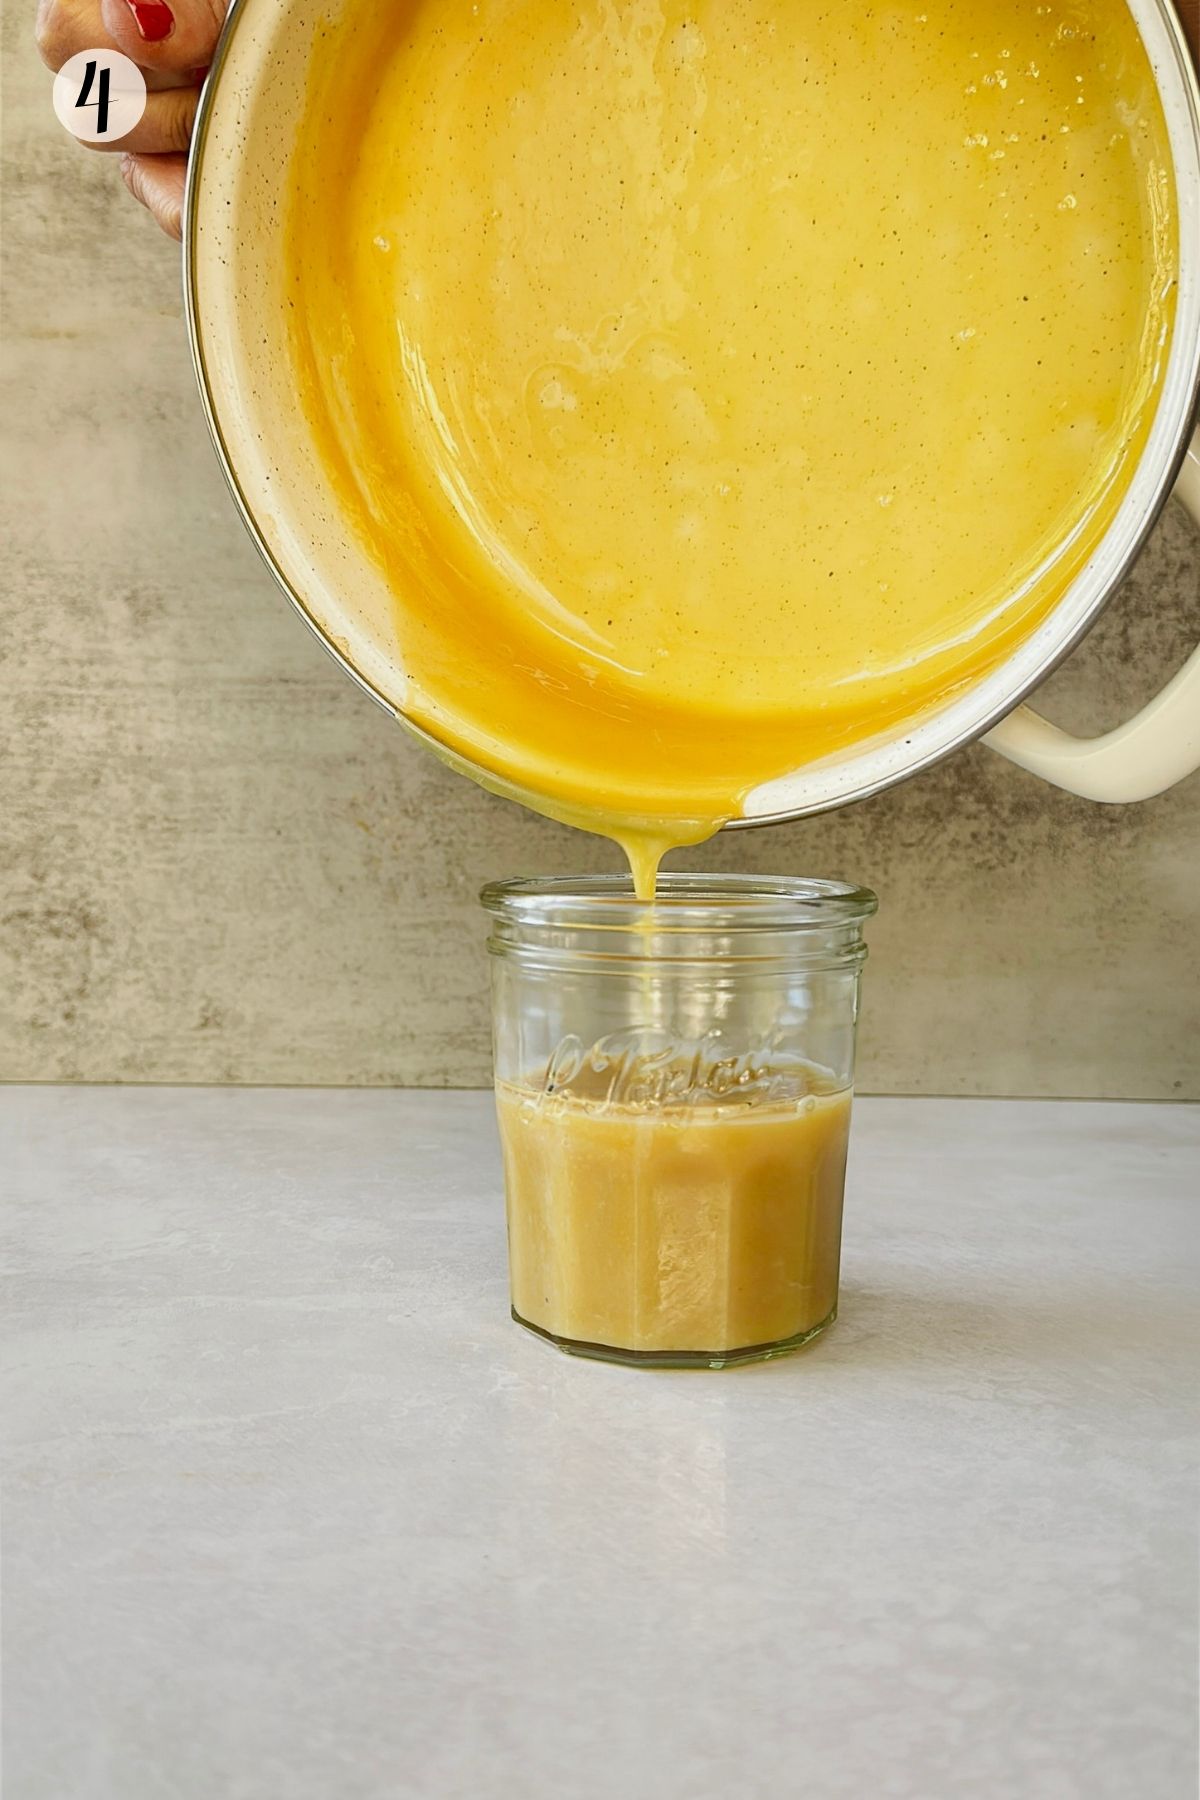
Step 4: Pour into a clean jar, cool to room temperature, and refrigerate. Use as needed.
Top Tips
- Use a wide pan. More surface area means faster evaporation. A tall, narrow saucepan will add ten minutes to your life for no reason.
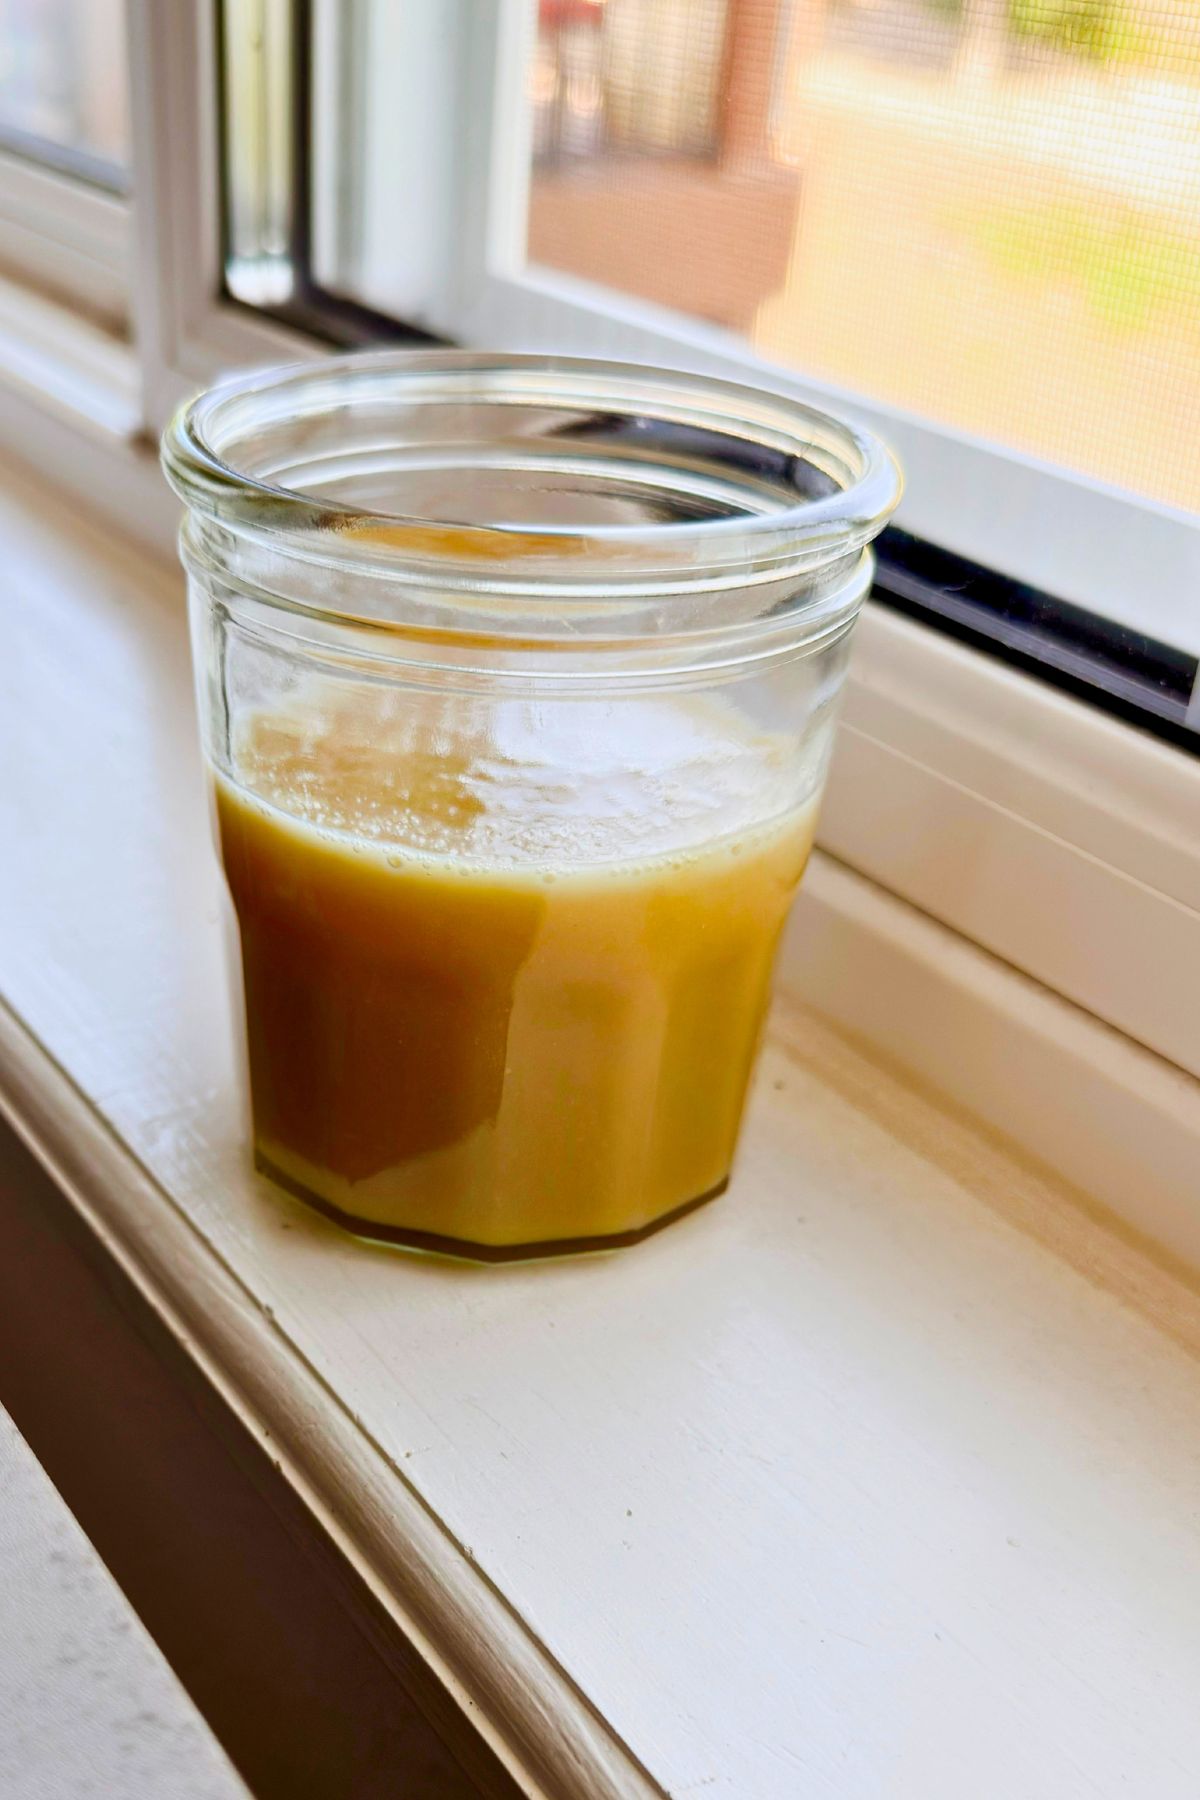
- It looks too thin, it probably isn't. This is where most people go wrong. Hot condensed milk is pourable, like heavy cream. It thickens as it cools. If you keep cooking until it looks right in the pan, you'll end up with candy.
Serving Suggestions
- Stirred into a cafecito.
- Use it in vegan flan, vegan coquito, vegan crema de vie, vegan fudge, or even my delicious vegan macaroni salad.
- Fold it into rice pudding/arroz con leche at the end of cooking.
- Brushed onto pastelitos while they're still warm.
Vegan Condensed Milk FAQs
No, regular condensed milk is made from cow's milk.
I don't recommend it. The fat gives it body and a glossy finish. Light coconut milk will reduce down thin and slightly chalky.
It boiled too hard, which crystallized the sugar. Keep it at the barest simmer next time. A grainy batch is still usable in something baked, like flan, where it'll dissolve back in.
Not really, no. Sugar isn't just sweetening here; it's doing the structural work of thickening the milk and keeping it stable. Allulose is the only one that comes close, and even then the texture is softer.
Two possibilities. Either it needs more time, or you're judging it while it's hot. Remember, it thickens a lot as it cools.
Two weeks in the fridge in a sealed jar, or three months in the freezer. Thaw overnight in the fridge and whisk it back together.
More Vegan Cuban Recipes
Drop a comment and tell me how this vegan sweetened condensed milk turned out! Was it love at first taste, surprisingly easy, or a full-on disaster? And if my directions helped (or didn't), please let me know so I can keep improving these recipes for you. Follow me on Pinterest, Instagram, Facebook, and YouTube for inspiration.
Recipe Card
Vegan Sweetened Condensed Milk

Equipment
- Wide, heavy-bottomed Saucepan
- Whisk or Wooden Spoon
- Heatproof 1-cup Jar with Lid
Ingredients
Coconut version
- 1 13.5-ounce can full-fat coconut milk, unsweetened 400 g
- ¾ cup sugar 150 g
- 1 teaspoon vanilla
- 1 pinch salt
Soy, oat, cashew, or almond milk version
- 2 cups unsweetened soy milk 480 g
- ½ cup sugar 100 g
- 1 pinch salt
- 1 tablespoon vegan butter 15 g

Instructions
- Dissolve the sugar: Mix the milk, sugar, and salt together in a wide, heavy-bottomed saucepan over medium heat until the sugar fully dissolves, about 2 minutes. Bring it just to the edge of a simmer, then drop the heat to low. You want lazy bubbles, not a hard boil.
- Simmer and reduce: Cook at a gentle simmer over low heat for 30-50 minutes, stirring every few minutes and scraping the bottom and sides. You want small bubbles breaking the surface, not a vigorous boil - if it's bubbling fast, lower the heat. Stir more often as it thickens and nears the finish.Timing varies with the milk and how gently it simmers, so watch the pan rather than the clock.As it nears the final consistency, stir more often to prevent scorching. Note: I like to use a wooden stick or skewer to monitor the reduction: before cooking, dip a wooden stick into the mixture and mark the starting level. As the milk reduces, you can dip it back in to compare the level with your mark. When the mixture reaches a little under half its original level on the skewer, it's ready.
- Check the mixture: When the milk has reduced, it will have thickened slightly and turned a darker shade. It should be thicker than the original milk but still thin and pourable while hot. It will thicken a little more as it cools.
- Finish off the heat: Whisk hard for 30 seconds. For the plant-milk version, whisk in the vegan butter now until melted and glossy. For the coconut milk version, add the vanilla and stir.
- Jar & chill: Pour into a clean jar, cool to room temperature, cover, then refrigerate.
Regi Pearce says
I honestly didn't expect homemade to be this easy, but it is! It's thick and glossy, and it tastes like traditional leche condensada. The soy version is my everyday one, and the coconut version is so rich I've caught myself eating it straight off the spoon. One spoonful in my cafecito and I was done buying cans.